Cloudbeds Integration
To activate integration with your Cloudbeds PMS, please first reach out to our support team at support@salesandcatering.com to have your Cloudbeds account linked to your STS Cloud account. During this process, we will:
- Connect your STS Cloud account to your Cloudbeds account
- Map your STS Cloud room types to your Cloudbeds room types so that you'll be able to view live availability and send allotment blocks to Cloudbeds directly from STS Cloud
- Provide in-person training and guidance on how to use the integration effectively
Connecting your user account to Cloudbeds for the first time
Each STS Cloud user will have to connect their user account to Cloudbeds – this is typically a one-time process that will link your STS Cloud user to your Cloudbeds user for future use.
- Be sure that you are logged-in to both your STS Cloud and Cloudbeds accounts. Note: if your organization uses a custom domain name to access STS Cloud, please login at https://stscloud.com/ for this step only.
- Connect to Cloudbeds by visiting your user settings and clicking "Connect to Cloudbeds" at the bottom of the page, or via the Cloudbeds App Marketplace.
- When connecting for the first time, you'll be asked to authorize the STS Cloud application as well as the permissions STS Cloud needs. Click "Allow Access" to continue with installation.
- You will be redirected to STS Cloud and will see a message letting you know that the integration is complete.
Viewing Cloudbeds room availability in STS Cloud
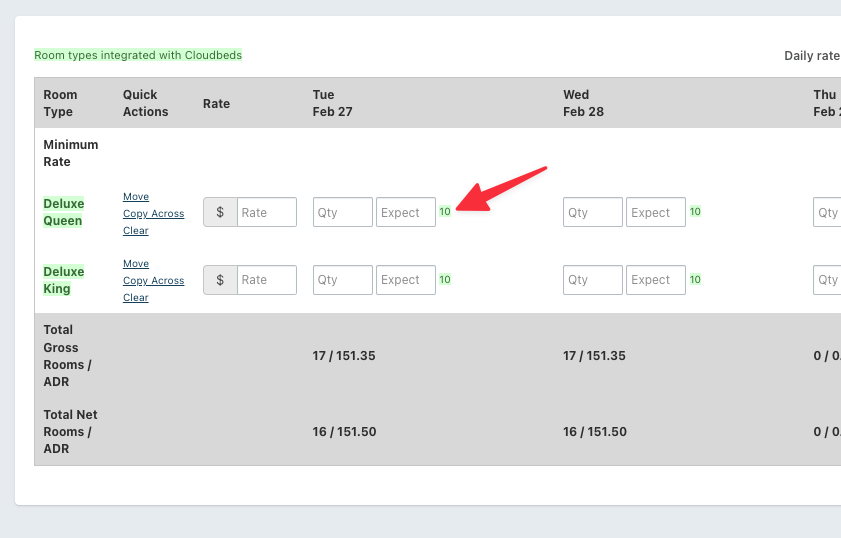
Now that everything is properly connected, in any booking's Room Block step, we can now view live room inventory as published in Cloudbeds. You will see all room types that are fully mapped to Cloudbeds' room types, as well as the number of available rooms for each room type:
Sending a group block to Cloudbeds
The first step in sending a group block from an existing tentative or definite booking in STS Cloud is to obtain a group code. This code is generated when creating a group profile in Cloudbeds, either manually in Cloudbeds or directly via STS Cloud.
Option A: Manually Create a Group Profile in Cloudbeds
In Cloudbeds, begin in Groups -> Create Group Profile.
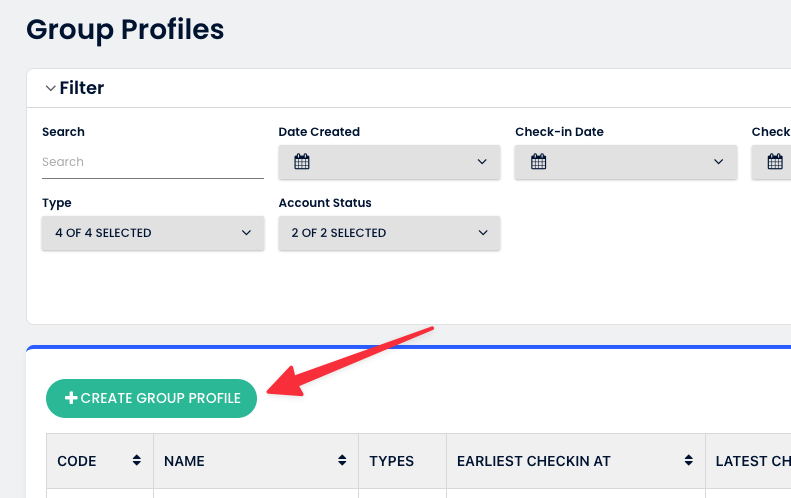
Create the group profile for the booking you are syncing with Cloudbeds. This will yield a new group profile and an automatically generated group code.

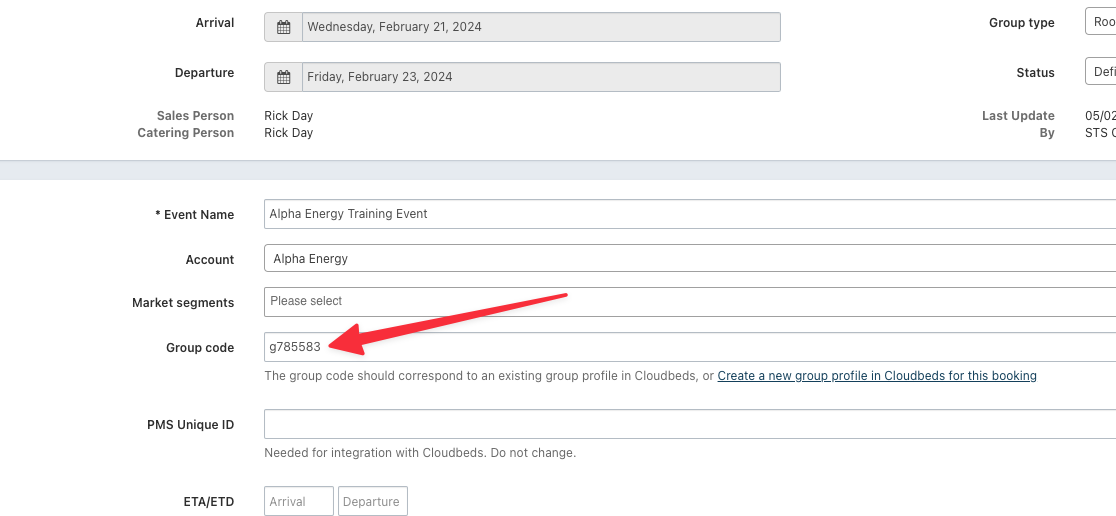
Enter the new group code into the Group Code field in the STS Cloud booking.
Option B: Create Group Profile Directly from STS Cloud
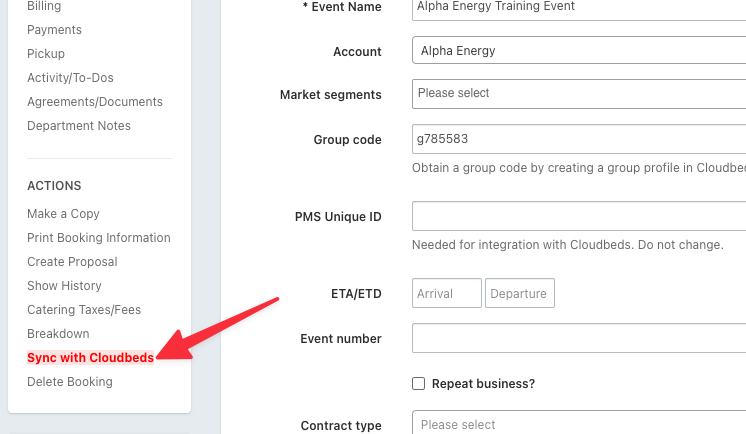
You can also create a group profile from STS Cloud directly, by clicking the link underneath the Group Code field within the booking:

This will create a group profile in Cloudbeds and automatically fill the Group Code field on the booking when successful.
Now you can click Sync with Cloudbeds and then Create Group.
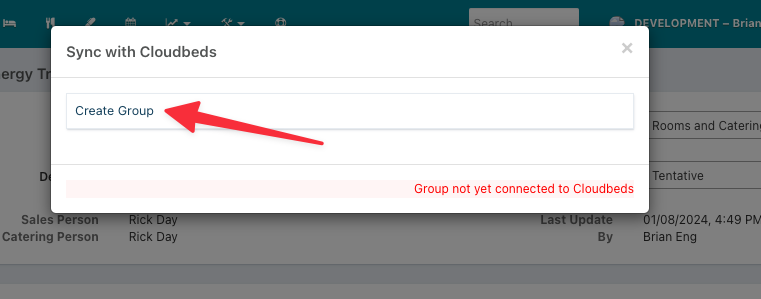
Once sent, the group allotment will appear in Cloudbeds as a new Allotment Block under the Group Profile:
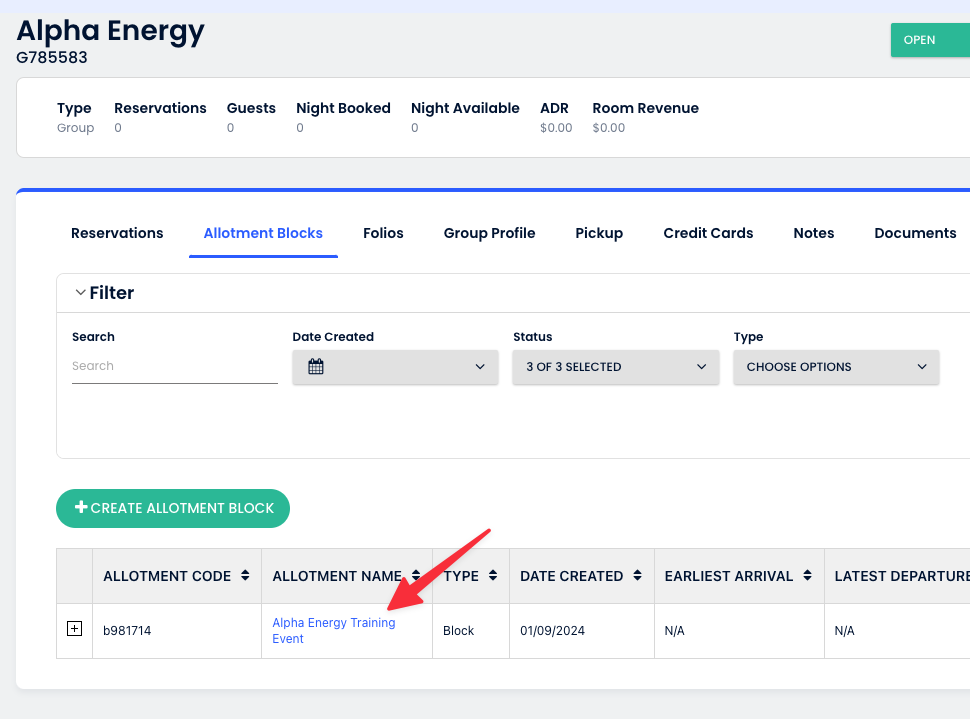
A few checkpoints to let you know that things are working as expected:
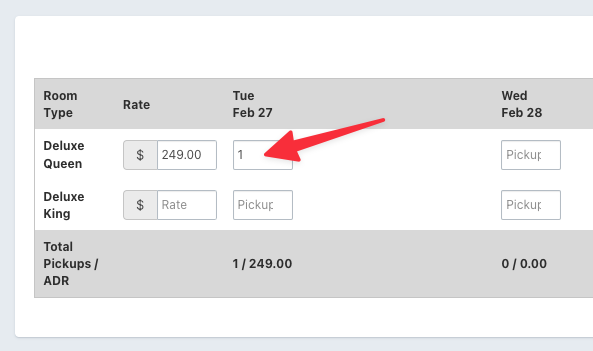
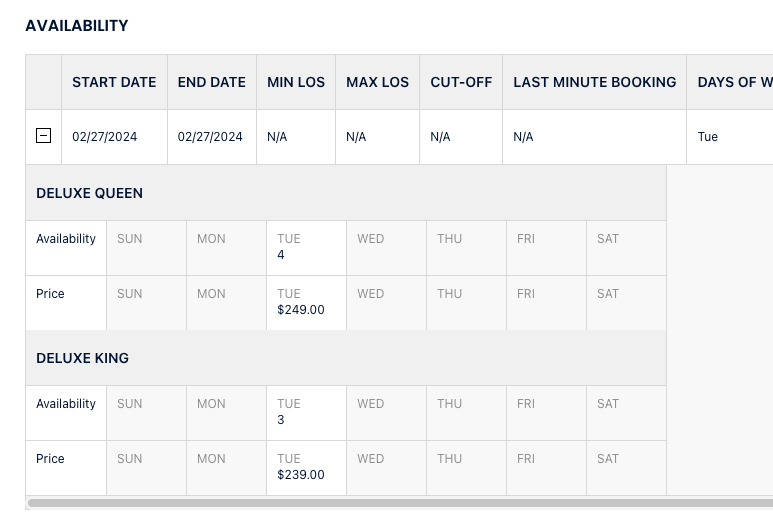
- The rate and the Gross Quantity (the blocked quantity, not the net/washed quantity) is sent to Cloudbeds. You will see these quantities under Availability in the allotment block details in Cloudbeds, as shown above.
- The auto-generated Allotment Code in Cloudbeds should be in the PMS Unique ID field in the STS Cloud booking.
- The ability to make reservations against the Allotment Block is based on the booking status. A Tentative booking will deduct inventory in Cloudbeds, but not allow reservations to be made against the block. Definite bookings allow reservations to be made.
Updating an existing block
Any time updates are made to a booking – for instance, the update of a booking's status or any other information associated with the block that you want Cloudbeds to know about – Sync with Cloudbeds should be clicked, followed by Update Group.
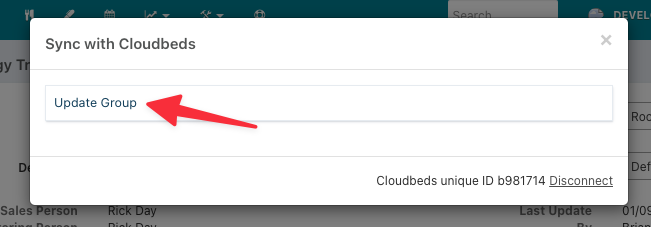
This will send any and all updates to the group block to Cloudbeds and ensure that STS Cloud and Cloudbeds are in-sync.
Making reservations and recording pickup
All reservations made against the group allotment block in Cloudbeds are automatically recorded as pickup in the Pickup tab of the booking. It takes about 10 minutes after a reservation is made, but otherwise, there's nothing else to do!

